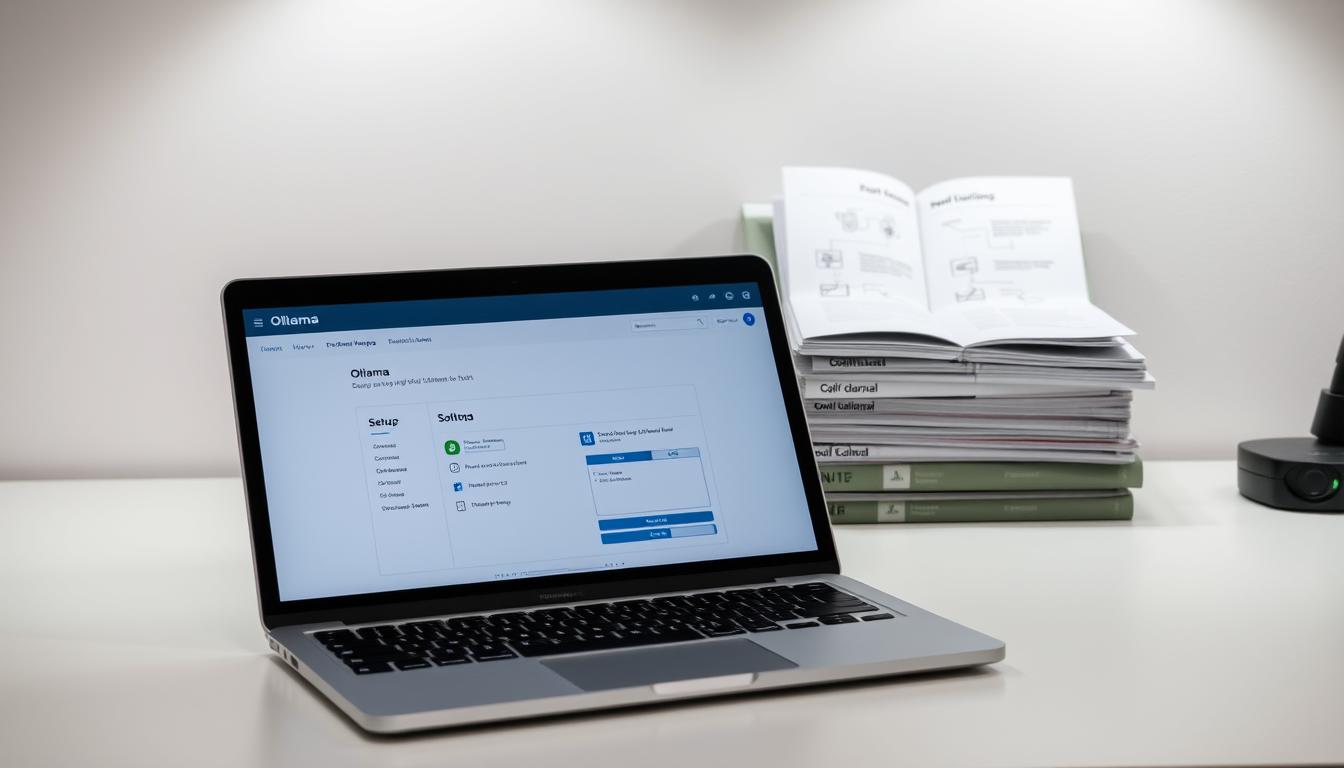
Successfully Install Ollama on Debian 13: Here’s How
What if you could run powerful AI models on your own machine, completely free from the constraints and costs of cloud services? This guide will show you exactly how to achieve that level of independence.
I’m excited to walk you through the complete process of getting this innovative platform running on your Debian 13 system. This tool empowers developers and AI enthusiasts to run large language models locally, giving you full control over your deployments.
My goal is to provide clear, actionable instructions tailored specifically for this operating system. I’ll cover everything from initial preparation to final verification for a smooth setup. You’ll learn both the standard method and alternative approaches, offering flexibility based on your technical comfort level.
This tutorial assumes some basic familiarity with Linux commands, but I will explain each step in detail. By the end, you’ll have a fully operational environment ready for your AI projects. For a deeper look at prerequisites, you can review the system requirements for Ollama.
Key Takeaways
- Gain full control by running large language models locally on your machine.
- The process is tailored specifically for the Debian 13 operating system.
- The guide covers everything from system preparation to final verification.
- Both standard and alternative installation methods are provided.
- Basic Linux command-line knowledge is helpful but not strictly required.
- The setup empowers you to work independently of cloud services.
Introduction and Overview
Running advanced language models independently on your own hardware provides complete autonomy over your AI projects. This approach transforms how developers interact with artificial intelligence.
About Ollama and Its Capabilities
Ollama serves as an open-source platform that enables local execution of various large language models. It supports popular LLMs like Llama 3, Mistral, and Gemma 2. The application includes a built-in repository for easy model management.
One of the standout features is the platform’s optimization for local hardware. It works efficiently on both CPU and GPU systems. This flexibility makes it accessible to different types of users.
Purpose and Benefits of Local Installation
Local deployment offers significant advantages for data privacy and control. You maintain complete authority over your AI applications without external dependencies. This setup eliminates API rate limits and ensures consistent performance.
The benefits extend to customization options and offline functionality. Similar to how control panel solutions manage web servers, Ollama gives you command over your AI environment. Users can fine-tune models according to specific needs.
System Requirements and Preparation
Before diving into the setup process, ensuring your hardware meets the necessary specifications is crucial for optimal performance. I always emphasize proper preparation to avoid common pitfalls and ensure a smooth experience.
Hardware and Software Prerequisites
Your machine needs adequate resources to handle language models effectively. I recommend starting with at least 16GB of RAM, though 32GB provides better headroom for larger models.
Storage space is equally important. You’ll need a minimum of 12GB free, but I suggest allocating more since individual models can consume significant disk space. A 64-bit processor with 4-8 cores forms the foundation for good performance.
If your system includes a GPU, you’ll benefit from hardware acceleration. This isn’t mandatory but dramatically improves response times. The platform works best on recent Linux distributions.
Updating and Preparing Your Debian 13 Environment
I begin every setup by updating the package lists and upgrading existing software. Running
1 | <code> |
1 | apt update |
followed by
1 | sudo apt upgrade |
ensures your environment is current.
This preparation step resolves potential dependency conflicts before introducing new software. Proper system maintenance prevents errors during the setup process and creates a stable foundation for your AI projects.
install ollama on debian 13
For a streamlined setup experience, the official installation script provides the most reliable solution. This approach handles all the technical details automatically.
Understanding the Official Installation Script
The official Ollama installation method uses a single command that simplifies the entire setup. This approach ensures proper configuration without manual intervention.
The core command fetches and executes the installation script directly. It begins with curl to download the script from the official source. The -fsSL flags ensure secure, silent operation with proper error handling.
This method automatically detects your system environment and configures everything accordingly. It eliminates potential errors from manual configuration steps.
I recommend this approach because it’s consistently reliable across different setups. The script handles dependencies and system requirements automatically.
Understanding this single step is crucial for a successful setup. The process creates a standardized experience regardless of your technical background.
Downloading and Executing the Installation Script
The moment has arrived to transform your prepared environment into a working AI platform. This crucial step brings everything together.
I’ll guide you through the actual execution process. We’ll use the terminal to run the necessary commands.
Using the Curl Command for Installation
Open your terminal application first. This is where we’ll execute the primary setup command.
The core command fetches the installation script securely. Copy this exactly: curl -fsSL https://ollama.com/install.sh | sh.
When you run this, you’ll see progress indicators. The script downloads and configures all components automatically.
This process typically takes a few minutes. It depends on your internet speed and system performance.
Verifying the Installation Script Download
After completion, verify the setup worked correctly. Run ollama –version to check.
You should see output like “ollama version is 0.5.12”. This confirms the installation succeeded.
You can also test with ollama list. Initially, this shows an empty list since no models are downloaded yet.
These verification steps are essential. They ensure the terminal communicates properly with the new application. If you encounter issues, check your setup similar to how you’d verify Python installations.
Configuring Service and System Settings
Managing system services is crucial for maintaining consistent performance of your local AI environment. Proper configuration ensures your platform runs reliably and starts automatically when needed.
Creating and Managing the Ollama Service
After setup completes, the platform creates a systemd service called ollama.service. This service file manages how the application runs on your machine.
I recommend checking the service status immediately using sudo systemctl status ollama. This confirms everything is active and running correctly. The service file resides at /etc/systemd/system/ollama.service.
To ensure automatic startup with your system, enable the service using sudo systemctl enable ollama. This guarantees availability after reboots. Similar service management applies when configuring monitoring solutions on Linux systems.
Setting Environment Variables for Optimal Performance
Environment variables are essential for customizing behavior and optimizing resource allocation. These settings go directly in the service file under the [Service] section.
Common variables include OLLAMA_HOST for network accessibility and OLLAMA_DEBUG for troubleshooting. After modifying the file, always reload the system daemon with sudo systemctl daemon-reload.
Finally, restart the service using sudo systemctl restart ollama to apply changes. This complete control over configuration empowers you to tailor the environment precisely.
Enhancing Performance and Troubleshooting
Getting your hardware properly configured makes a significant difference in how efficiently your AI models run. Fine-tuning your system unlocks the full potential of your local setup.
I focus on practical adjustments that deliver noticeable improvements. These steps help prevent common issues before they impact your workflow.

GPU Drivers and Resource Management
Accelerating model inference requires proper drivers for your graphics card. This is crucial for achieving better performance compared to CPU-only operation.
For NVIDIA gpu systems, I use sudo ubuntu-drivers autoinstall. This command works reliably despite its Ubuntu-specific name. Verify success with nvidia-smi to see your card’s status.
AMD gpu users need the ROCm-supported version. Download it using curl -L https://ollama.com/download/ollama-linux-amd64-rocm.tgz -o ollama-linux-amd64-rocm.tgz. Extract with sudo tar -C /usr/ -xzf ollama-linux-amd64-rocm.tgz to enable acceleration.
Addressing Port Conflicts and Memory Issues
Sometimes your server might have port conflicts. Check with sudo lsof -i :11434 to identify blocking processes.
If port 11434 is occupied, set an alternative using export OLLAMA_HOST=127.0.0.1:11435. This simple change resolves accessibility problems quickly.
Memory constraints often appear with larger models. I limit VRAM usage with export OLLAMA_GPU_LAYERS=0, forcing CPU processing. This approach is similar to resource management when you configure Kubernetes clusters on Linux systems.
Proper drivers and resource allocation ensure stable operation. These adjustments maximize your system’s performance for demanding AI workloads.
Using Ollama and Managing Models
The real power of this platform emerges when you begin interacting with different AI models. I’ll guide you through the essential workflow of downloading, running, and maintaining your model library.
Pulling and Running Your First Model
Begin by downloading your preferred model using the pull command. For beginners, I recommend starting with smaller models like Mistral or DeepSeek-R1.
Use ollama pull mistral to download approximately 4.1GB. This provides an excellent balance of capability and resource requirements.
After downloading, verify your available models with ollama list. This displays each model’s details in an organized table format.
To start an interactive session, run ollama run [model-name]. You can then enter prompts and receive real-time responses from your chosen AI.
Monitoring Model Performance and Application Behavior
Managing your models efficiently ensures optimal system performance. When finished with a session, simply type /bye to exit gracefully.
For active model management, use ollama stop [model-name] to halt running processes. Remove unused models with ollama rm [model-name] to free storage space.
Detailed model information is available through ollama show [model-name]. This reveals architecture details, parameter counts, and licensing information.
These steps create a complete workflow for working with artificial intelligence on your local machine.
Advanced Installation Options and Customization
Container technology offers powerful deployment flexibility for AI applications. I explore alternative methods for users seeking specialized configurations.
These approaches provide isolation and reproducibility benefits. They’re ideal for complex deployment scenarios.
Containerization with Docker
Docker provides excellent isolation for your AI environment. I begin by pulling the official image using docker pull ollama/ollama.
This command downloads the pre-configured container with all dependencies included. The container approach simplifies the setup process significantly.
For GPU acceleration, I use a specific run command. The –gpus=all flag enables hardware support within the container environment.
Customizing Model Directories and API Settings
Custom storage locations help organize your AI models efficiently. I set the model directory using export OLLAMA_MODELS=/path/to/models.
For permanent configuration, I add this to the shell configuration file. This ensures the setting persists across sessions.
API customization allows integration with various applications. Setting OLLAMA_HOST=0.0.0.0:11434 enables network access.
Additional environment variables control memory management and performance optimizations. These settings tailor the platform to specific application requirements.
Conclusion
With the foundation complete, your exploration of language models can truly begin. I’ve walked you through each step to get your system ready for local AI work.
You now have a powerful platform running on your machine. This setup gives you complete control over your AI applications. The installation process we followed ensures your models operate independently from cloud services.
The beauty of this method is its flexibility. Your system can handle various large language models efficiently. You maintain privacy while accessing cutting-edge AI capabilities.
I encourage you to explore the integration possibilities. Connect with tools like Open WebUI for graphical interfaces. For deeper technical insights, check this comprehensive local setup guide.
This is just the beginning of your journey with local AI. The platform opens endless possibilities for creative projects and practical applications.
FAQ
What are the minimum system requirements for running Ollama on Debian 13?
How do I check if my installation was successful?
Can I use my GPU to speed up model performance?
What should I do if port 11434 is already in use?
Where are the downloaded language models stored on my system?
Is it possible to run Ollama in a Docker container on Debian?
How do I update Ollama to the latest version?
- About the Author
- Latest Posts
Mark is a senior content editor at Text-Center.com and has more than 20 years of experience with linux and windows operating systems. He also writes for Biteno.com


