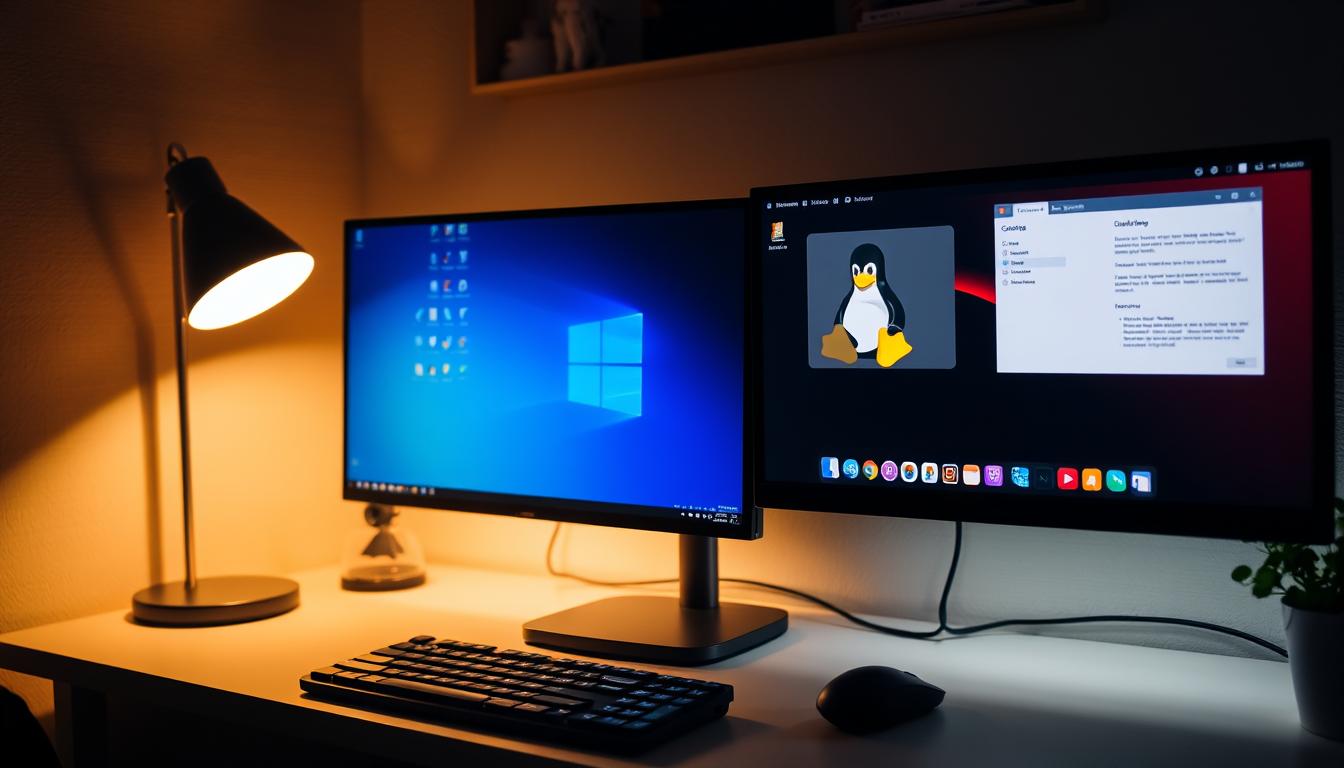
We Guide You on How to Dual Boot Linux and Windows
What if you did not have to choose between two powerful operating systems on your computer? Imagine accessing the unique strengths of each platform from a single machine. This capability is not just a dream for advanced users. We explore the configuration that allows two separate operating systems to coexist on one computer. This setup provides incredible flexibility. You get the familiar environment of one system alongside the robust, open-source power of another. Our guide details the essential requirements. You will learn about necessary hardware, available disk space, and the commitment for maintaining two systems. We walk you through each critical step. This includes preparation, backup, and final configuration.
This method offers direct hardware access, unlike virtualization. It delivers full performance for both environments. Understanding the process is key to a successful setup.
We focus on a specific combination for this guide, but the principles apply broadly. This approach is popular for software development, testing, and learning new systems. It unlocks a world of possibilities.
Key Takeaways
- Run two separate operating systems on a single machine.
- Gain flexibility and access the best features of each platform.
- Understand the hardware and disk space requirements.
- Follow a step-by-step process for a reliable configuration.
- Learn the differences from other methods like virtualization.
- Be prepared for the time and technical commitment involved.
Introduction to Dual Booting
The journey into Linux typically follows one of two primary paths for newcomers to the platform. Many users start with single-board computers like Raspberry Pi. Others prefer the traditional approach of installing both environments on their main machine.
Overview of Dual Boot Benefits
This configuration represents an effective method for experiencing Linux without abandoning Windows. Users maintain access to Windows-exclusive applications while exploring the Linux ecosystem. The setup provides incredible flexibility for different computing needs.
Running both platforms on a single device offers significant advantages. You can choose the appropriate environment for specific tasks. This is ideal for testing software across different platforms or developing cross-platform applications.
Performance benefits stand out compared to virtualization solutions. Each operating system enjoys direct hardware access when active. This eliminates the overhead associated with virtual machines.
Why Choose Linux and Windows Together
The combination appeals to diverse user groups for various reasons. Developers appreciate having Linux tools alongside Windows applications. Students learning system administration find the setup invaluable for hands-on experience.
Modern graphical installers have dramatically simplified the process. Technical barriers that once intimidated newcomers have been reduced. This accessibility makes the configuration more approachable than ever before.
Specific use cases highlight the practical value of maintaining separate systems. Users might need Windows for gaming or professional software. They can prefer Linux for programming, web development, or privacy-focused computing.
Preparations: Backing Up and Partitioning Your Computer
Before diving into system modifications, thorough preparation safeguards your data integrity. We approach this phase with careful attention to detail.
Essential Data Backup Techniques
Protecting your important files represents the most critical first step. We recommend multiple backup methods for comprehensive protection.
External storage devices offer reliable physical security for your computer data. Cloud services provide convenient off-site redundancy. Always verify that backups complete successfully before proceeding.
How to Shrink Your Windows Partition
The next step involves creating space on your primary drive. This requires modifying the existing disk layout.
Access the Disk Management utility through your system settings. Locate the main Windows partition on your drive. The shrink function allows you to reclaim space safely.
Specify the amount in megabytes for the new partition. We recommend 20,000-30,000 MB for adequate space. Proper partition management ensures system stability.
Make sure you maintain sufficient space on the original Windows drive. This preserves system performance and allows for future updates.
Creating a Live USB for Linux Installation
Creating a bootable USB drive is a fundamental step for installing a new operating system. This media serves as the key to launching the installer directly on your machine. We guide you through obtaining the necessary files and preparing your device correctly.
Downloading the Linux ISO File
Your chosen distribution is available as an ISO file. This format contains a complete, bootable image of the operating system. Official websites for Ubuntu and other popular distributions provide these files for free download.
The term “ISO” originates from the standard for CD and DVD disc images. Today, it remains the universal format for distributing operating systems. You can test the environment live before you commit to a full install Kali Linux from a USB.
Using Rufus to Create a Bootable USB Drive
We recommend Rufus, a free utility for Windows, to write the ISO file to your USB flash drive. It ensures compatibility with modern UEFI firmware and Secure Boot requirements. A drive with at least 8GB capacity is necessary.
After inserting your device and opening Rufus, select it from the dropdown menu. Click “SELECT” to choose your downloaded ISO file. The critical configuration step is setting the partition scheme to GPT.
GPT, or GUID Partition Table, is the modern standard essential for UEFI systems. It replaces the older MBR scheme. When prompted, always select “Write in ISO image mode” for correct functionality.
Double-check that the correct USB drive is selected. The writing process erases all data on the device permanently. After completion, your bootable USB is ready for use and can also serve as a recovery tool.
how to dual boot linux and windows
Modern Linux distributions feature remarkably user-friendly installation interfaces that simplify the entire process. We guide you through each screen with careful attention to critical choices.
Begin by inserting your bootable USB drive and restarting your computer. Access the boot menu using your system’s specific function key during startup. Select the USB device from the available options to launch the installer environment.
Choosing the Correct Installation Mode
The GRUB menu appears first, presenting several options. Select “Try or Install Ubuntu” to enter the live environment. This loads the complete operating system into memory without altering your hard drive.
We strongly recommend testing all hardware components at this stage. Verify Wi-Fi connectivity, audio functionality, and display performance. This ensures compatibility before committing to the installation.
Launch the installer application from the desktop icon. The most critical decision comes when selecting installation type. Choose “Install Ubuntu alongside Windows Boot Manager” for automatic configuration.
Other options may erase your existing Windows installation or require advanced partitioning. The alongside method represents the safest path for most users.
Allocating Disk Space for Both Operating Systems
The installer automatically detects your Windows installation and available space. A visual slider interface allows adjustment of storage allocation between the two environments.
Consider your intended usage patterns when dividing space. Windows typically requires more room for applications and updates. Linux can operate efficiently with less storage depending on your software needs.
Verify the correct physical drive selection if multiple drives are present. The installer handles complex partitioning calculations automatically. This preserves your existing Windows system while creating space for the new environment.
Navigating BIOS/UEFI and Adjusting Boot Settings
The system firmware represents the critical control layer between your hardware and operating systems. Proper configuration here ensures your computer recognizes both environments correctly. We guide you through accessing and modifying these essential settings.
Accessing the BIOS Setup
Entering the firmware interface requires timing. Restart your computer and watch for the manufacturer’s logo screen. Press the designated key repeatedly during this initial phase.
Common access keys include F2, F12, Delete, or Esc. Manufacturers vary, so consult your device documentation if unsure. Some systems allow accessing the BIOS without restarting through Windows settings.
Navigation within the BIOS relies solely on your keyboard. Use arrow keys to move between menus and Enter to select options. The interface appears basic because it loads before any operating system.
Configuring Secure Boot and Boot Order
Locate the Boot section within your firmware menu. Here you’ll find security features and device priority settings. Secure Boot protects against unauthorized software but may block some distributions.
For compatibility, disable Secure Boot if needed. Use the keyboard to highlight the option and change its setting to Disabled. This adjustment is particularly important for older hardware or specific Linux versions.
Next, set the boot order to prioritize your Linux installation. Find “UEFI NVMe Drive BBS Priorities” or a similar option. Designate the Linux drive as Boot Option #1.
This configuration ensures the GRUB menu loads first, presenting your operating system choices. Always save changes before exiting, typically by pressing F10. Your system will restart with the new settings active.
Installing Ubuntu Alongside Windows
The manual partition configuration option provides granular control for experienced users who want to customize their system layout. We guide you through each critical decision point during this installation phase.
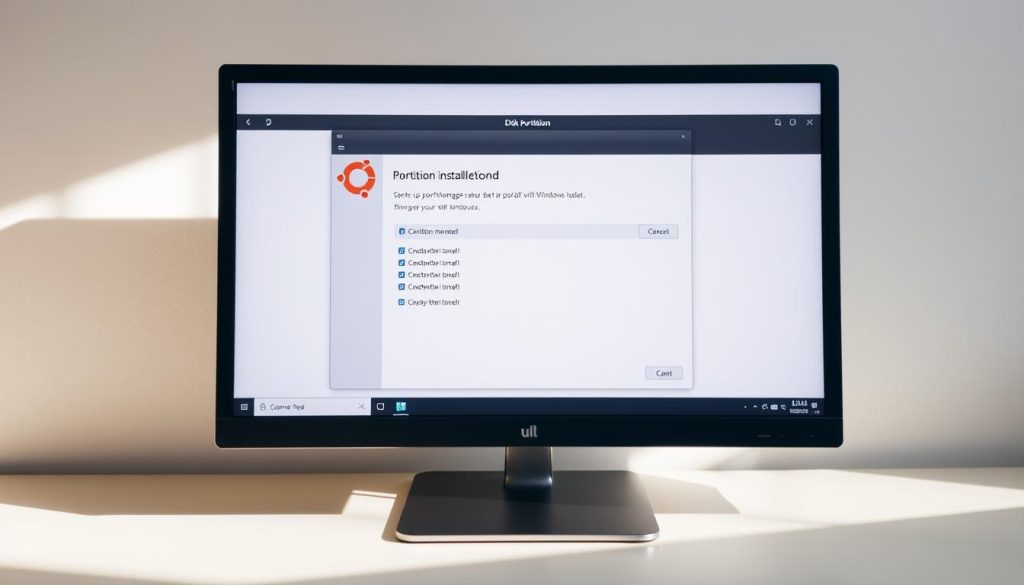
Begin by selecting language preferences and configuring accessibility options. Choose your keyboard layout to match physical hardware. Establishing Internet connectivity during this process ensures your system receives current security patches.
Selecting the “Something Else” Installation Option
Interactive installation mode provides control over configuration decisions. This approach suits users wanting precise system customization. Automated options work better for pre-configured setups.
Choose between Default or Extended application selections. Default installs minimal applications for custom projects. Extended includes office tools and media applications for immediate productivity.
The proprietary software selection screen offers restricted drivers for better hardware compatibility. These components often improve graphics and Wi-Fi performance. Carefully review each selection before proceeding.
Creating Partitions for Root, Swap, and Home
The “Something Else” option enables manual partition creation. This method allows precise specification of storage allocation. We recommend three essential partitions for optimal performance.
First, create the root partition (/) with at least 10GB using EXT4 file system. This space contains the core operating system files and applications. Proper sizing ensures smooth system operation.
Second, allocate approximately 8GB for the swap area. This partition serves as overflow memory when physical RAM reaches capacity. It also supports system hibernation functionality.
Finally, assign remaining space to the home partition (/home). This area stores user files and application settings separately from system files. This separation simplifies future system upgrades.
Complete the installation by creating your user account and hostname. Review all configuration choices before finalizing. The process copies files and integrates with your existing Windows setup.
Troubleshooting and Finalizing Your Dual Boot Setup
After installation, the final step involves confirming everything operates correctly and addressing any initial configuration hiccups. This phase ensures a smooth start for your new computing environment.
Upon restart, the GRUB bootloader menu should appear, listing your available operating systems. This menu provides a default 10-second countdown before automatically loading the primary option, typically your new system. We recommend immediately testing both environments.
Resolving Boot Manager Issues
If the system boots directly into one operating system without showing the selection menu, the bootloader configuration needs attention. This often happens if the boot option priority in your system’s firmware was not updated.
For systems where the GRUB menu fails to appear, a specific command can redirect the Windows Boot Manager. Open an administrator command prompt in that environment and enter:
1 | bcdedit /set "{bootmgr}" path \EFI\ubuntu\grubx64.efi |
This command instructs the Windows bootloader to hand control over to GRUB. For older systems, if the original environment loads normally, reinstalling the second system often resolves the issue.
Running Boot Repair if Windows Option Disappears
Sometimes, the opposite problem occurs: Windows disappears from the GRUB menu after installation. This indicates the grub configuration did not fully detect the existing environment.
In this case, a specialized utility can automatically diagnose and fix the problem. Booting from a live USB and using the Boot Repair tool is an effective process. It rescans for all installed systems and rebuilds the configuration file.
This process typically restores the missing option without data loss. For more complex setups, the tool offers advanced options. Most dual booting issues are solvable with these methods, as detailed in our comprehensive guide.
Conclusion
Successfully running two distinct environments on a single device marks a significant achievement in personal computing. We have walked through the entire process, from initial backup to final configuration.
Modern installers have made this setup accessible. The principles we covered apply to various versions of these operating systems. Following each step in order is crucial for a stable result.
This configuration provides unmatched versatility. You gain access to the full software library of each platform without performance loss. The initial time investment pays off with long-term flexibility.
Remember to maintain both systems independently with regular updates. The skills learned here, like partition management, are valuable for other projects.
Your computer is now a more powerful and adaptable tool. You can seamlessly switch between environments for work, development, or exploration.
FAQ
What are the main advantages of setting up a dual boot configuration?
Is it necessary to back up my files before starting the installation process?
How do I create the necessary space on my drive for the second operating system?
What is a Live USB, and why do I need one?
How do I access the BIOS or UEFI firmware settings on my computer?
What should I do if my computer boots directly into Windows after installation?
Can I adjust the amount of disk space allocated to each operating system after installation?
What are the root, swap, and home partitions in a Linux installation?
- About the Author
- Latest Posts
Claudia Rothenhorst ist Medien- und Reise-Redakteurin bei der Web-Redaktion. In ihrer Freizeit reist sie gerne und schreibt darüber unter anderem auf Reisemagazin.biz.
Weitere Artikel von Ihr erscheinen u.a. im Blog der Webagentur Awantego.
