How I Install Venus OS on Raspberry PI Successfully
What if you could build a professional energy monitoring solution for a fraction of the commercial cost? Many people assume that high-quality solar management requires expensive proprietary hardware. We’re here to challenge that belief.
This comprehensive guide shows you how to transform a simple single-board computer into a powerful energy management tool. The open-source software we’ll work with was originally developed for commercial monitoring devices. It provides complete control over your renewable energy setup.
Using affordable hardware instead of dedicated commercial equipment creates significant savings. You maintain professional-grade functionality while customizing the setup to your exact needs. Our approach delivers enterprise-level capabilities without the enterprise price tag.
We’ve consolidated information from official documentation and community experience. This creates a complete roadmap that anyone with basic technical skills can follow. You’ll gain the knowledge needed to configure your personalized energy management device.
The process works with various hardware models, making it accessible to users with different configurations. While some technical understanding helps, our step-by-step method breaks complex procedures into manageable tasks. You’ll build a customized solution that meets your specific requirements.
Key Takeaways
- Transform affordable hardware into professional energy monitoring equipment
- Access enterprise-level functionality without the high cost
- Follow a consolidated guide based on real-world experience
- Customize the setup to match your specific energy needs
- Work with various hardware models for flexibility
- Learn through manageable step-by-step instructions
- Gain complete control over your renewable energy system
Introduction and Overview
Professional energy monitoring capabilities are now within reach through innovative software adaptations. We’ll explore how specialized operating systems can transform basic hardware into powerful management tools.
Scope of the Guide
This comprehensive tutorial covers the entire process from hardware selection to final configuration. We provide detailed information about compatibility requirements and setup procedures.
The guide explains how this software turns your single-board computer into a central monitoring hub. It collects data from various energy components through multiple connection methods.
What You Will Learn
You’ll gain practical knowledge about selecting compatible hardware and configuring network connectivity. We share tested procedures that consolidate official documentation and community experience.
Understanding the system basics helps you appreciate the powerful capabilities you’re unlocking. You’ll learn to monitor energy device performance through web-based interfaces.
The tutorial covers how to interpret signal information from various components. You’ll access real-time data and historical analysis for optimal system performance.
We emphasize practical information that ensures successful implementation. By following our guidance, you’ll configure a reliable monitoring solution for your energy device setup.
System Requirements and Compatibility
System requirements form the foundation of any successful energy monitoring setup. We’ll examine which single-board computers work with this specialized software and what additional components you’ll need.
Raspberry Pi Models Supported
Several Raspberry Pi models receive official support for this energy management software. The Raspberry Pi 2, 3 B, 3 B+, and 4 models all work reliably.
Each device has specific version requirements. The Pi 4 needs different minimum software versions depending on board revision. Earlier Zero models and original Pi 1 hardware lack compatibility due to architectural limitations.
SD Card and Peripheral Requirements
Storage quality significantly impacts system stability. We recommend a minimum 16GB microSD card from reliable manufacturers. This storage holds the operating system and historical monitoring data.
The card must handle continuous data writing from energy signals. Choose high-quality brands to prevent data loss and maintain signal integrity.
Your hardware setup needs proper power support. The Pi 4 requires a 5V 3A supply, while Pi 3 models work with 5V 2.5A. Consider adding a protective case for heat management.
Preparing Your Raspberry Pi for Installation
Before diving into the technical setup, proper groundwork ensures your energy monitoring project proceeds smoothly from start to finish. We’ll guide you through essential preparation steps that prevent common installation obstacles.
Hardware and Software Prerequisites
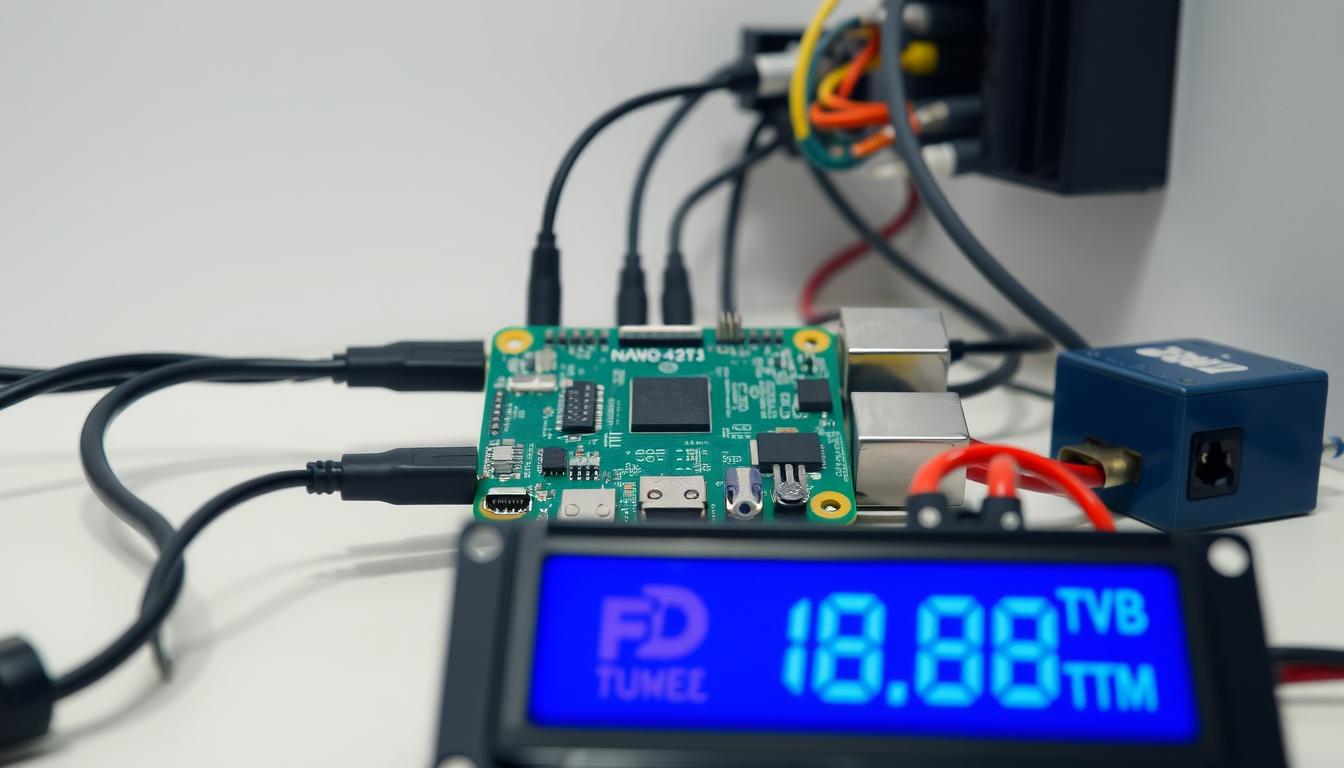
Gather all necessary components before beginning. You’ll need your single-board computer, a quality microSD card, reliable power supply, and connection cables for your energy devices.
Ensure your computer has an SD card reader for writing the system image. Download the official imaging software in advance. This tool prepares your storage card efficiently.
Verify internet connectivity for downloading system files and future updates. Stable connection ensures proper data transmission and signal reliability.
Pre-Installation Checklist
Follow this simple checklist to confirm readiness:
- Make sure your hardware model is compatible
- Verify Victron equipment communication protocols
- Confirm stable internet access for downloads
- Install Victron Connect mobile app for initial setup
Proper preparation reduces troubleshooting time significantly. It creates a solid foundation for your monitoring system, similar to preparing for other technical setups like nginx configuration.
Double-check each item before proceeding. This attention to detail ensures accurate data collection and reliable signal monitoring from your energy devices.
Downloading and Flashing the Venus OS Image
The downloading phase represents a critical step where proper file selection determines system compatibility. We guide you through obtaining the correct software foundation for your energy monitoring setup.
Choosing the Correct Image File
Navigate to the official Victron Energy updates website to download the appropriate operating system file. You’ll find two main image types: “raspberrypi2” for Pi 2, Pi 3 B, Pi 3 B+, and Pi Zero 2W devices, and “raspberrypi4” for Pi 4 and Compute Module 4 hardware.
Identify the latest stable version by examining the file naming convention. The filename includes date and version information, such as venus-image-large-raspberrypi2-20240205221147-v3.30~2.rootfs.wic.gz. Selecting the correct version ensures compatibility with your specific device.
Using the Raspberry Pi Imager Tool
Download the Raspberry Pi Imager tool from the official website. This application handles Windows, macOS, and Linux systems, providing a reliable method for writing images to storage cards.
Launch the application and insert your microSD card. Select the custom image option rather than predefined operating systems. Browse to your downloaded file location – the tool handles compressed .gz files directly without manual extraction.
Choose the correct storage device carefully, as the process erases all existing data. After verification, click “Write” to begin the flashing operation. The tool writes the image, verifies the operation, and displays completion when successful.
This process creates a solid foundation for your energy management system, ensuring reliable data collection from connected devices.
Configuring Venus OS Settings and Network Connection
Network configuration bridges the gap between local hardware operation and comprehensive remote monitoring capabilities. Proper setup ensures your energy management system communicates effectively with connected devices and online services.
Adjusting Default Settings
Begin configuration using the default Bluetooth PIN “000000” for initial pairing. This six-zero code connects your mobile device to the system through the Victron Connect app.
Some users encounter a temporary connection issue during first boot. The Bluetooth interface may grey out with a “someone else connected” message. A simple reboot typically resolves this glitch.
Connecting to WiFi and Ethernet
Access network settings by tapping the settings icon in the Victron Connect app’s top-right corner. Here you’ll find WiFi configuration options and the system’s IP address.
Select your wireless network from the available list and enter the password. The system will obtain an IP address automatically through DHCP. Note this address carefully for web browser access.
For maximum stability, consider using Ethernet connectivity when possible. Wired connections provide more reliable data transmission for critical energy signals.
Proper network setup enables remote console access and system updates. If you encounter persistent connection issues, our guide on resetting VNC connections provides additional troubleshooting steps.
Install Venus OS on Raspberry PI
The moment of truth arrives when we transition from preparation to actual implementation of our energy monitoring system. All the groundwork we’ve completed now converges into this critical phase.
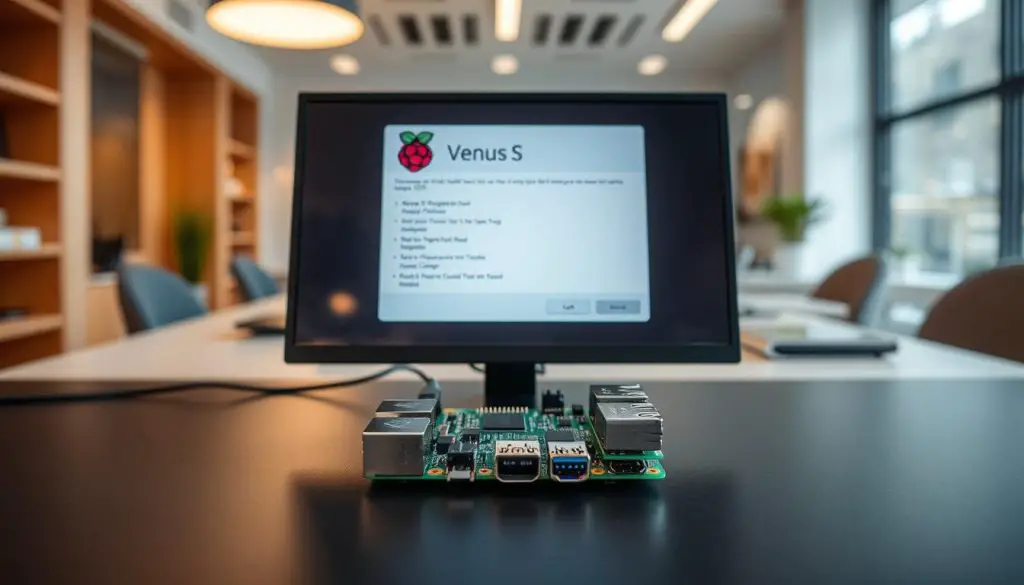
With your hardware prepared and the correct software image flashed to your microSD card, the physical installation begins. Insert the prepared storage card into your single-board computer’s slot. Connect any desired peripherals like a monitor or keyboard, though these aren’t strictly necessary for basic operation.

Apply power to initiate the boot sequence. Your device will read the specialized operating system from the storage media and begin initialization. This process transforms standard hardware into a professional-grade monitoring solution.
During first boot, the framework performs essential setup tasks. These include file system configuration, service initialization, and preparation of the Victron communication framework. The system establishes itself as a functional alternative to commercial monitoring devices.
Successful implementation is confirmed when the device boots without errors and becomes accessible through network connections. This achievement demonstrates how open-source software combined with flexible hardware creates enterprise-level capabilities at minimal cost.
Your energy management device now stands ready to collect performance data and monitor system signals. The transition from DIY project to operational monitoring solution is complete.
Step-by-Step Installation Process
With all preparatory steps completed, we now enter the hands-on execution stage where theory meets practical application. This phase transforms your prepared hardware into an operational energy monitoring device.
Flashing the Micro SD Card
Begin by inserting the prepared storage media into your device’s card slot. Connect an HDMI monitor and USB keyboard before applying power. These peripherals provide essential access to the command line interface.
Power up your device and wait for the boot sequence to complete. The system will present a terminal prompt where we enter critical configuration commands. This initial setup ensures proper functionality.
Booting Up and Initial Command Line Setup
At the prompt, enter these essential commands in sequence. First, make the storage card writable for this session: mount -o remount,rw /. This command allows system modifications that would otherwise be blocked.
Next, rename the headless configuration file: mv /etc/venus/headless /etc/venus/headless.off. This file modification instructs the system to start with graphical interface instead of headless mode.
Enable touchscreen support with: dbus -y com.victronenergy.settings /Settings/Gui/TouchEnabled SetValue 1. This command prepares the system for touch display connectivity.
Finally, execute reboot to restart and apply all changes. The device will boot into the graphical interface, ready for energy data collection and signal monitoring.
These configuration steps only need performing once. The changes persist across future reboots, creating a stable foundation for your monitoring solution.
Post-Installation Configuration and Remote Monitoring
With the core system operational, we now focus on extending monitoring capabilities beyond physical access through web-based interfaces. This phase unlocks the true potential of your energy management solution.
Proper configuration ensures you can monitor system performance from anywhere. We’ll guide you through establishing both local and cloud-based oversight.
Using Victron Connect for Setup
Begin by accessing the local interface through any web browser on your network. Type “venus.local/” or your device’s IP address into the URL bar. We recommend Chrome in Incognito mode to prevent caching issues.
The remote console provides a complete web-based replica of the system interface. You can view real-time data and adjust settings without physical access to the device.
Accessing the Remote Console and VRM Portal
For cloud monitoring, navigate to the Settings menu in your system interface. Locate the VRM option and note your unique Portal ID. Enable secure HTTPS connections and two-way communications.
Visit https://vrm.victronenergy.com/installation/xxxxx/dashboard in your browser, replacing “xxxxx” with your Portal ID. Register for an account or log in with existing credentials.
The VRM portal transforms your local setup into a cloud-connected solution. It provides historical data analysis, remote configuration, and alert notifications. Regular system updates maintain optimal performance, similar to our comprehensive update guide for maintaining system health.
Troubleshooting and Common Issues
When working with complex energy monitoring systems, occasional issues may arise that demand systematic troubleshooting. We address the most frequent challenges users encounter, providing clear solutions to restore functionality quickly.
Network and Connection Problems
A common question involves Bluetooth connectivity during initial setup. The device may connect briefly then display a “someone else connected” message. This connection issue has a simple fix: reboot your device and reconnect through the Victron Connect app.
For network access problems, try using the direct IP address if “venus.local” fails. Some routers don’t support mDNS hostname resolution properly.
Error Messages and Quick Fixes
Advanced users needing command-line access can enable SSH. Set the password to “ZZZ” in Settings > General. Change the Access Level to Superuser by highlighting and holding the right button.
Enable “SSH on LAN” and reboot. Use PuTTY on Windows with the syntax [email protected] or root@[IP-address]. This way provides full system control for maintenance tasks.
Most problems have straightforward solutions. The Victron community forums offer excellent support for additional questions. Thousands of experienced users share troubleshooting advice there.
Optimizing and Maintaining Your Venus OS System
Sustained operational excellence emerges from disciplined maintenance practices and performance oversight. We guide you through essential routines that keep your energy management solution running smoothly over time.
Regular Updates and Security Checks
Navigate to Settings → General → Firmware → Online updates to check for new software version releases. This process ensures your system receives the latest features and security patches. Each user should establish a regular update schedule.
Maintain adequate free space on the data partition. Always make sure at least 30MB remains available for proper operation. This prevents system instability and allows logging functions to work correctly.
For enhanced security, regularly review access settings. Change default passwords and consider restricting network access to trusted devices. Superuser level privileges require careful management.
Performance Monitoring Tips
Regularly monitor CPU usage and memory consumption through the remote console. This proactive approach helps identify potential issues before they become critical problems. Check that all connected equipment reports data correctly.
Verify time and date settings periodically. Accurate timestamps are essential for proper data logging and VRM portal synchronization. The VRM portal provides historical performance data and trend analysis.
Establish a routine to monitor network connectivity stability. Review system logs for errors or warnings. This comprehensive monitoring approach maintains optimal signal quality from your energy devices.
Conclusion
Completing this technical journey marks your entry into an ecosystem of shared knowledge and collaborative problem-solving. You’ve transformed affordable hardware into a professional monitoring system that rivals commercial alternatives. This achievement demonstrates the power of open-source development and community-driven information sharing.
You’re now part of a global community where every user contributes to collective knowledge. Bookmark essential resources like the official GitHub repository and community forums. These platforms provide ongoing support and detailed technical information.
Remember that successful setup is just the beginning. Continue exploring advanced configurations and share your experiences. Your contributions help other users find solutions and improve the entire community. This collaborative way of working ensures everyone benefits from shared expertise.
FAQ
What is the primary function of Venus OS on a Raspberry Pi?
Which Raspberry Pi models are compatible with the latest Venus OS image?
How do I access the system for the first time after the installation is complete?
Can I use a Wi-Fi connection instead of Ethernet for my Venus OS device?
What should I do if I cannot find my Venus OS device on the network?
How do I register my system with the Victron VRM portal for remote monitoring?
Where can I find support if I encounter an issue not covered in this guide?
- About the Author
- Latest Posts
Mark is a senior content editor at Text-Center.com and has more than 20 years of experience with linux and windows operating systems. He also writes for Biteno.com


