How to Set Up Open-WebUI with Ollama on Ubuntu Server: Complete Step-by-Step Guide

Running artificial intelligence locally has evolved from an experimental hobby into an enterprise-grade standard for privacy-conscious developers, system administrators, and businesses. While Ollama delivers an exceptionally fast and efficient backend runtime for serving open-source Large Language Models (LLMs) such as Llama 3, Mistral, and Qwen, managing text prompts purely through a command-line interface lacks the modern features users expect.
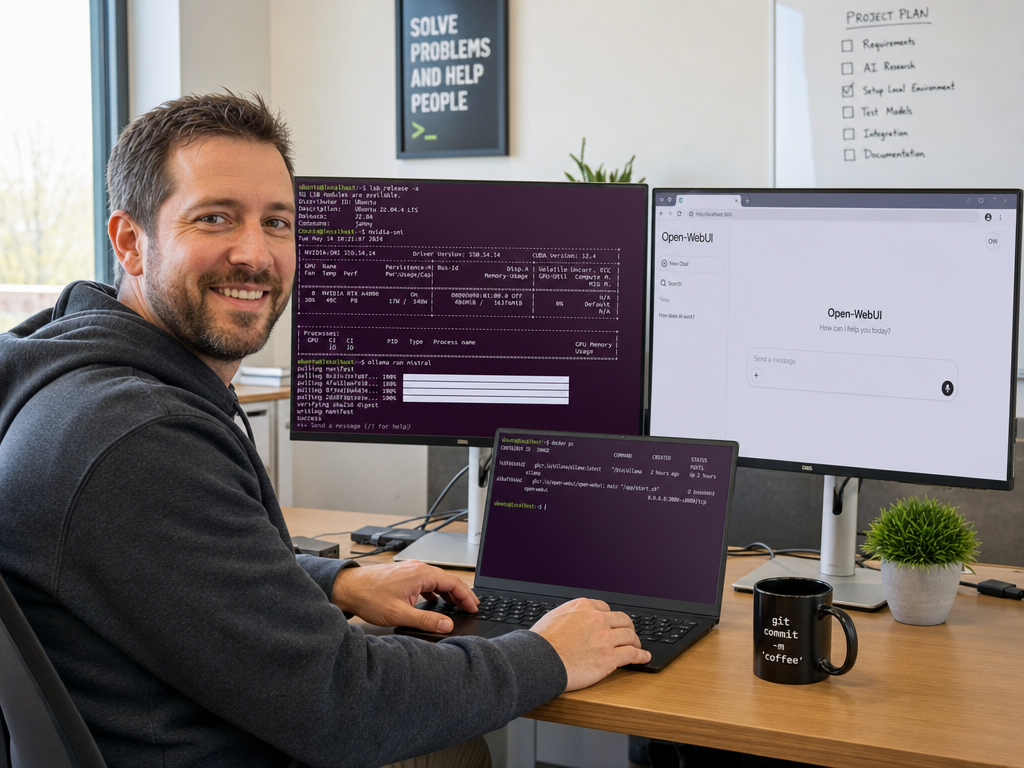
This is where Open-WebUI comes into play. Formerly known as Ollama WebUI, Open-WebUI is an open-source, feature-packed web client that replicates and enhances the ChatGPT interface experience. With native support for Ollama, it provides document uploads (RAG), voice input, role-based user management, model parameter tuning, and custom system prompts—all hosted entirely on your private server.
In this step-by-step guide, you will learn how to deploy Ollama and Open-WebUI on Ubuntu Server 22.04 or 24.04 LTS using Docker, configure network connectivity, secure the instance behind an Nginx reverse proxy with SSL, and optimize performance for local model inference.
Prerequisites & Hardware Considerations
Before beginning the installation, ensure your Ubuntu server meets the following recommendations:
| Component | Minimum Specification | Recommended (7B – 14B Models) |
|---|---|---|
| Operating System | Ubuntu 22.04 LTS or Ubuntu 24.04 LTS | Ubuntu 24.04 LTS (64-bit) |
| CPU | 4 Cores (x86_64 or ARM64) | 8+ Modern CPU Cores (AVX2 supported) |
| RAM | 8 GB RAM (runs 3B models) | 16 GB to 32 GB DDR4/DDR5 RAM |
| GPU (Optional) | CPU-only mode supported | NVIDIA GPU with 8GB+ VRAM (CUDA support) |
| Storage | 20 GB free disk space | 100 GB+ NVMe SSD (for model weights) |
You also need
1 | <code> |
sudo or root access on your Ubuntu server, along with a domain or subdomain pointed to your server IP if you intend to access Open-WebUI over the public internet.
Step 1: Update Ubuntu Server and Install Prerequisites
Start by refreshing the local package index and upgrading existing packages to their latest versions:
2
sudo apt install -y curl wget git apt-transport-https ca-certificates gnupg lsb-release
Step 2: Install and Verify Ollama
Ollama provides an automated installation script for Linux that configures the system binary and sets up a dedicated systemd service:
Once the installation completes, verify that the Ollama systemd daemon is active and running:
Configure Ollama to Listen for Docker Containers
By default, Ollama binds exclusively to
1 | 127.0.0.1:11434 |
(localhost). Because Open-WebUI runs inside a Docker container, it needs network access to the Ollama service on the host.
To configure Ollama to accept connections from the Docker network bridge without exposing it unprotected to the public internet, create an override file for systemd:
In the editor that opens, insert the following configuration directives:
2
3
Environment="OLLAMA_HOST=0.0.0.0:11434"
Environment="OLLAMA_ORIGINS=*"
Save the file and exit the editor. Then reload the systemd configuration and restart Ollama:
2
sudo systemctl restart ollama
Test the endpoint locally to ensure the Ollama API answers correctly:
You should see the expected confirmation response:
1 | Ollama is running |
.
Step 3: Install Docker Engine and Docker Compose
Open-WebUI is most reliably deployed and updated using official Docker images. When deploying containerized services in production environments, ensure you follow our Docker container security best practices and review our Ubuntu Server hardening guide to protect the host. Install Docker using the official repository:
2
3
4
5
6
7
8
9
10
11
12
13
14
sudo install -m 0755 -d /etc/apt/keyrings
curl -fsSL https://download.docker.com/linux/ubuntu/gpg | sudo gpg --dearmor -o /etc/apt/keyrings/docker.gpg
sudo chmod a+r /etc/apt/keyrings/docker.gpg
# Add Docker repository
echo "deb [arch=$(dpkg --print-architecture) signed-by=/etc/apt/keyrings/docker.gpg] https://download.docker.com/linux/ubuntu $(lsb_release -cs) stable" | sudo tee /etc/apt/sources.list.d/docker.list > /dev/null
# Install Docker packages
sudo apt update
sudo apt install -y docker-ce docker-ce-cli containerd.io docker-buildx-plugin docker-compose-plugin
# Enable and start Docker
sudo systemctl enable --now docker
To run Docker commands without prepending
1 | sudo |
, add your current user to the
1 | docker |
group:
2
newgrp docker
Step 4: Deploy Open-WebUI Container
Depending on your architecture, you can deploy Open-WebUI via a direct Docker run command or through a structured Docker Compose file. Docker Compose is recommended for production environments because it simplifies automated restarts, log inspection, and updates.
Method A: Deployment via Docker Compose (Recommended)
Create a dedicated directory for your Open-WebUI installation:
2
nano docker-compose.yml
Paste the following production configuration into
1 | docker-compose.yml |
:
2
3
4
5
6
7
8
9
10
11
12
13
14
15
16
17
18
19
open-webui:
image: ghcr.io/open-webui/open-webui:main
container_name: open-webui
restart: unless-stopped
ports:
- "127.0.0.1:3000:8080"
extra_hosts:
- "host.docker.internal:host-gateway"
environment:
- OLLAMA_BASE_URL=http://host.docker.internal:11434
- WEBUI_SECRET_KEY=generate_a_random_32_char_secret_here
- DEFAULT_MODELS=llama3.2
volumes:
- open-webui_data:/app/backend/data
volumes:
open-webui_data:
name: open-webui_data
Launch the container in detached background mode:
Check the container logs to verify that the backend initializes smoothly:
Step 5: Pulling Initial AI Models in Ollama
Before interacting with the web interface, download one or more high-performance open-source models onto your server. For example, to pull Meta’s Llama 3.2 or Mistral:
2
3
4
5
6
ollama pull llama3.2
ollama pull mistral
# Pull an embedding model for document search (RAG)
ollama pull nomic-embed-text
You can list all downloaded models on your server at any time:
Step 6: Secure Open-WebUI with Nginx & Let’s Encrypt SSL
Exposing port 3000 directly over plain HTTP poses severe security risks, including unencrypted credential transfers and exposed API tokens. Setting up Nginx as a reverse proxy with Let’s Encrypt SSL provides encrypted HTTPS communication and robust protection.
Install Nginx and Certbot
Configure Nginx Virtual Host
Create a dedicated Nginx configuration file for your Open-WebUI domain:
Add the following virtual host block (replace
1 | chat.yourdomain.com |
with your actual domain name):
2
3
4
5
6
7
8
9
10
11
12
13
14
15
16
17
18
19
20
21
listen 80;
server_name chat.yourdomain.com;
client_max_body_size 256M;
location / {
proxy_pass http://127.0.0.1:3000;
proxy_set_header Host $host;
proxy_set_header X-Real-IP $remote_addr;
proxy_set_header X-Forwarded-For $proxy_add_x_forwarded_for;
proxy_set_header X-Forwarded-Proto $scheme;
# WebSocket support for streaming responses
proxy_http_version 1.1;
proxy_set_header Upgrade $http_upgrade;
proxy_set_header Connection "upgrade";
proxy_read_timeout 600s;
proxy_send_timeout 600s;
}
}
Enable the site configuration and reload Nginx:
2
3
sudo nginx -t
sudo systemctl reload nginx
Obtain an SSL Certificate via Certbot
Run Certbot to automatically issue and configure a trusted Let’s Encrypt TLS certificate:
Follow the interactive prompts to enable automatic HTTPS redirection.
Step 7: Initial Login & Essential Administrative Setup
Navigate to
1 | https://chat.yourdomain.com |
in your browser:
- Create the Root Administrator Account: The first registered account automatically receives full Administrator privileges. Choose a strong, unique master password.
- Manage Sign-Up Access: In the Admin Panel (Settings > General), toggle new user registrations to “Pending” or disable public sign-ups entirely to prevent unauthorized access.
- Verify Ollama Connection: Under Settings > Admin Settings > Connections, verify that the Ollama API URL is detected and shows a green status light.
- Test Prompt Streaming: Start a new chat, select
1llama3.2
from the model selector dropdown, and verify real-time response generation.
Troubleshooting Common Issues
Issue 1: Open-WebUI Displays “Connection to Ollama Failed”
If Open-WebUI cannot communicate with Ollama, verify that the Ollama service is listening on
1 | 0.0.0.0:11434 |
rather than only
1 | 127.0.0.1 |
. Execute:
If it displays
1 | 127.0.0.1:11434 |
, ensure the systemd override in Step 2 was configured correctly and restart the Ollama daemon.
Issue 2: Response Streaming Times Out Through Nginx
When running long inferences on CPU, default Nginx proxy timeouts (60 seconds) can prematurely close the HTTP connection. Ensure
1 | proxy_read_timeout 600s; |
and
1 | proxy_send_timeout 600s; |
are included in your Nginx configuration block.
Summary & Next Steps
You now have a fully functional, self-hosted AI chat interface operating securely on Ubuntu Server. By pairing Ollama with Open-WebUI, your team gains access to cutting-edge AI capabilities while maintaining total control over sensitive intellectual property and corporate communications.
In our next tutorial, we will take self-hosted AI even further by constructing a specialized Local RAG Knowledge Base with AnythingLLM to query proprietary documentation without data ever leaving your infrastructure. For high-concurrency production deployments across multi-GPU servers, also explore our benchmark on running local LLMs in production (Ollama vs. vLLM vs. TGI).
- About the Author
- Latest Posts

Mark is a senior content editor at Text-Center.com and has more than 20 years of experience with linux and windows operating systems. He also writes for Biteno.com