Ubuntu 24.04 LTS Server Setup: Complete Beginner’s Guide 2026

Ubuntu 24.04 LTS server setup is the foundation for anyone looking to build a reliable, secure, and production-ready Linux server. Whether you are managing a small business infrastructure, setting up a homelab, or deploying cloud instances, mastering Ubuntu 24.04 LTS server setup gives you complete control over your computing environment. This comprehensive guide walks you through every step of the process, from initial installation to advanced security configurations.
Why Choose Ubuntu 24.04 LTS Server?
Ubuntu 24.04 LTS (Noble Numbat) offers enterprise-grade stability with support until April 2029. The Ubuntu 24.04 LTS server setup process has been streamlined for both beginners and experienced administrators. Long-term support means security updates and critical patches are guaranteed for five years, making it ideal for production environments.
The Ubuntu 24.04 LTS server setup includes the latest Linux kernel 6.8, improved hardware support, and enhanced performance optimizations. Whether you are running bare metal, virtual machines, or cloud instances, this distribution delivers exceptional reliability.
Prerequisites for Ubuntu 24.04 LTS Server Setup
Before beginning your Ubuntu 24.04 LTS server setup, ensure you have the following:
- A computer or virtual machine with at least 2GB RAM and 10GB disk space
- Ubuntu 24.04 LTS Server ISO downloaded from the official Ubuntu website
- A bootable USB drive (8GB or larger) or virtualization software
- Internet connection for downloading updates
- Basic understanding of command-line operations
Step-by-Step Ubuntu 24.04 LTS Server Setup
Step 1: Create Bootable Installation Media
The first step in your Ubuntu 24.04 LTS server setup is creating bootable media. On Linux or macOS, use the dd command:
Replace /dev/sdX with your actual USB device path. Be extremely careful to select the correct device to avoid data loss.
Step 2: Boot and Begin Installation
Insert your bootable media and restart your server. Access the boot menu (typically F12, F10, or Del) and select your USB drive. The Ubuntu 24.04 LTS server setup wizard will guide you through:
- Language selection
- Keyboard layout configuration
- Network connection setup
- Proxy configuration (if applicable)
- Mirror selection for package downloads
Step 3: Storage Configuration
During Ubuntu 24.04 LTS server setup, you will configure storage. For beginners, select “Use entire disk” with LVM enabled. This provides flexibility for future expansion and snapshots. Advanced users can configure custom partitioning schemes.
Step 4: User Account Creation
Create your administrative user account with a strong password. This account will have sudo privileges. Avoid using “admin” or “root” as usernames for security reasons.
Essential Post-Installation Configuration
After completing your Ubuntu 24.04 LTS server setup, perform these critical configuration steps:
Update System Packages
This ensures all packages are current with the latest security patches.
Configure Static IP Address
Edit the Netplan configuration file to set a static IP:
Add your network configuration with static addressing, gateway, and DNS servers.
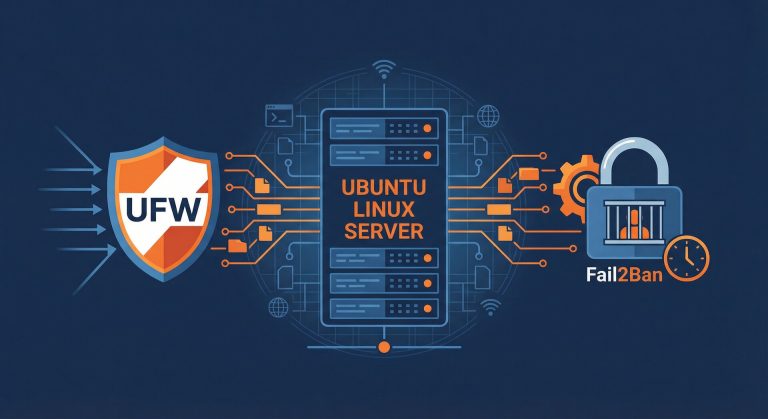
Enable Firewall (UFW)
2
3
4
sudo ufw default allow outgoing
sudo ufw allow ssh
sudo ufw enable
Security Hardening After Ubuntu 24.04 LTS Server Setup
Security is paramount for any server deployment. After your Ubuntu 24.04 LTS server setup, implement these security measures:
- Install Fail2ban to protect against brute-force attacks
- Configure automatic security updates with unattended-upgrades
- Disable password authentication and use SSH keys only
- Change the default SSH port (optional but recommended)
- Set up log monitoring and alerting
Installing Essential Services
Depending on your use case, you may want to install these common services after your Ubuntu 24.04 LTS server setup:
Web Server (Nginx)
2
sudo systemctl enable nginx
Docker Container Platform
2
sudo usermod -aG docker $USER
Troubleshooting Common Ubuntu 24.04 LTS Server Setup Issues
Even with careful preparation, you may encounter issues during Ubuntu 24.04 LTS server setup:
- No network connection: Check cable connections and verify Netplan configuration
- Boot problems: Ensure UEFI/BIOS settings match your installation media type
- Package installation failures: Verify internet connectivity and mirror accessibility
- Permission denied errors: Use sudo for administrative commands
Conclusion
Mastering Ubuntu 24.04 LTS server setup provides you with a solid foundation for countless IT projects. This guide covered installation, basic configuration, security hardening, and common service deployment. Remember that server administration is an ongoing process requiring regular updates and security monitoring.
Ubuntu 24.04 LTS server setup is just the beginning of your Linux journey. Continue learning through official Ubuntu documentation, community forums, and hands-on practice. With its stability, security, and extensive support, Ubuntu 24.04 LTS remains the premier choice for server deployments in 2026 and beyond.
- About the Author
- Latest Posts

Mark is a senior content editor at Text-Center.com and has more than 20 years of experience with linux and windows operating systems. He also writes for Biteno.com